The Art of Timelapse Photography: How to Make a Timelapse with Photos
In the age of visual storytelling, timelapse photography stands out as a breathtaking way to capture the passage of time. This unique technique compresses hours, days, or even years into mere seconds of captivating footage, offering a dynamic perspective on the world around us. Whether you are a budding photographer or a seasoned professional, understanding how to make a timelapse with photos can elevate your portfolio and impress your audience.
Understanding Timelapse Photography
Timelapse photography is essentially the process of taking a series of images at set intervals to record changes that take place slowly over time. When played at normal speed, these sequences create a mesmerizing effect that reveals the unseen beauty of natural and urban landscapes.
What You Need to Get Started
Before diving into timelapse photography, it is essential to gather the right equipment and tools. Here is a list of must-have items:
- Camera: A DSLR or mirrorless camera is highly recommended for best quality. You can also use smartphones with timelapse capabilities.
- Tripod: A sturdy tripod is crucial to ensure stability during shooting.
- Intervalometer: This device allows you to set the intervals at which the camera captures images.
- Editing Software: Programs like Adobe Premiere Pro or Final Cut Pro will help you compile your photos into a stunning video.
- Storage Solutions: High-capacity SD cards and an efficient backup system for your images.
Planning Your Timelapse Project
Before you hit the shutter button, proper planning is essential to the success of your timelapse project. Here are the primary considerations:
Choosing the Right Subject
The subject of your timelapse can significantly impact the final result. Popular subjects include:
- Sunrise and Sunset - Capture the changing colors of the sky.
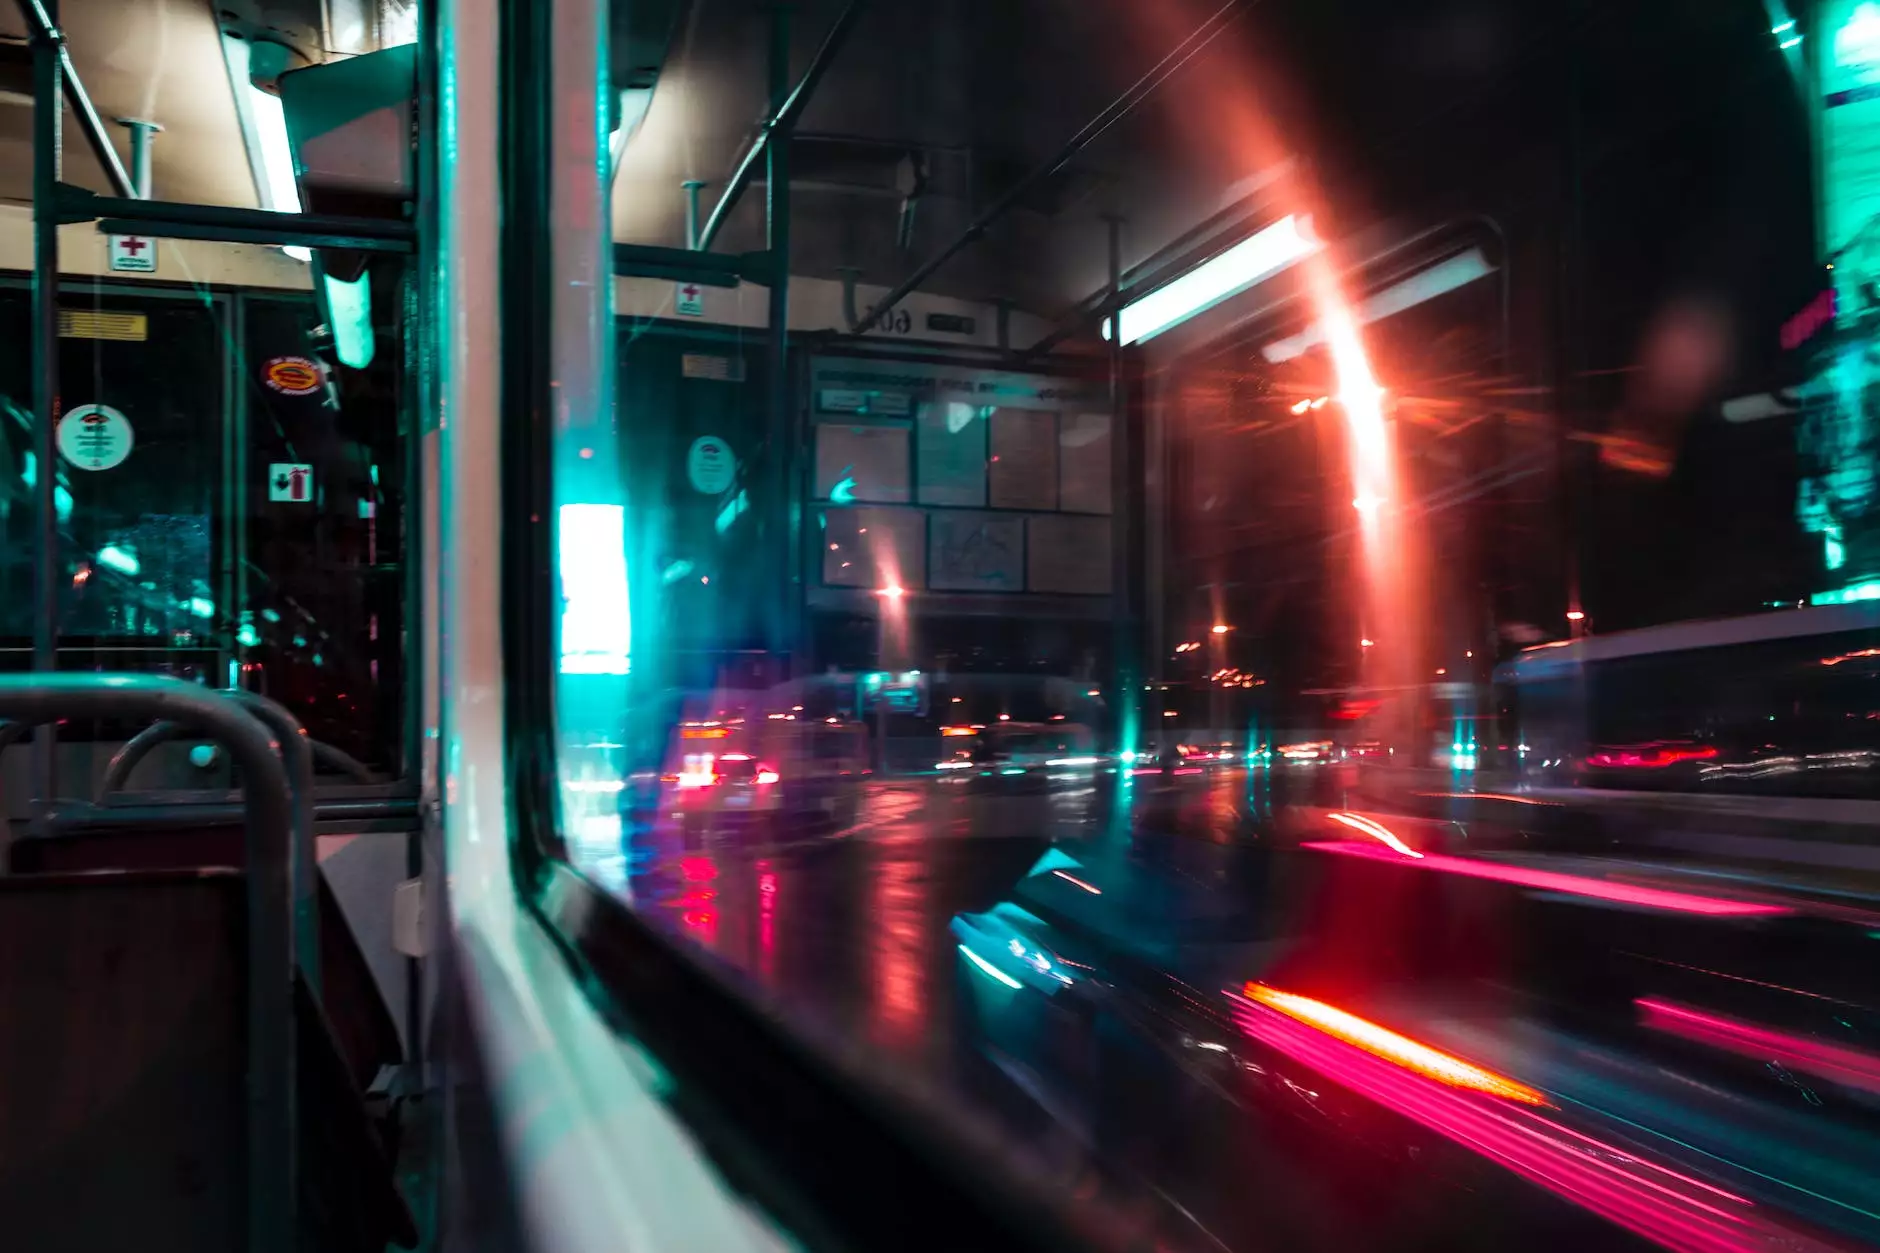
- Traffic Patterns - Illustrate the bustling activity of a busy intersection.
- Nature Scenes - Show the growth of plants or the movement of clouds.
- Cityscapes - Showcase the transformation of urban spaces over time.
Selecting a Location
Once you have chosen your subject, it’s time to select the perfect location. Factors to consider include:
- Accessibility: Ensure the location is easy to reach, and you have permission to shoot.
- Time of Day: Consider how the light changes throughout the day.
- Background Elements: Think about how objects in the background may enhance or detract from the scene.
Setting Up Your Camera for Timelapse Photography
With your subject and location selected, the next step is to set up your camera correctly.
Adjusting Camera Settings
Quality images are the foundation of an effective timelapse. Here are some settings to adjust:
- Manual Mode: Switch your camera to manual mode to maintain consistent exposure.
- Shutter Speed: Choose a shutter speed that suits the movement you are capturing.
- Aperture Settings: Use a small aperture (high f-stop number) for greater depth of field, especially in landscape shots.
- ISO Settings: Keep the ISO as low as possible to minimize noise in your images.
Using an Intervalometer
An intervalometer allows you to define how often the camera takes a shot and for how long. Set it according to the speed of change in your subject:
- For faster subjects (like clouds), use shorter intervals (1-5 seconds).
- For slower changes (like plants growing), longer intervals (10-60 seconds) work better.
Taking Photos for Your Timelapse
Now that your camera is set up, it’s time to start capturing images. Here’s how to ensure you gather the best possible photos:
Stability is Key
Using a tripod is crucial to avoid shaking, which can ruin the entire sequence. Ensure your tripod is on level ground and remains undisturbed throughout the shooting process.
Monitor Your Battery Life
Long timelapse sessions can drain your camera’s battery quickly. Carry spare batteries and use power-saving modes where possible.
Editing Your Timelapse Video
Once you have collected all your images, it’s time to bring them together into a stunning timelapse video. Follow these steps:
Importing Images
Open your chosen editing software and import all the images sequentially. Arrange them in the order they were taken to maintain the continuity of the scene.
Adjusting Frame Rate
Set the speed at which the images play. A frame rate of 24 to 30 frames per second is standard for a smooth playback experience. This speed may vary based on the length of your sequence and the effect you desire.
Adding Music and Effects
Enhance your timelapse by adding suitable background music and subtle effects like fades or transitions to introduce a professional touch.
Best Practices for Timelapse Photography
To truly master the art of timelapse photography, consider implementing these best practices:
Experiment with Different Locations and Times
Variety is key in photography. Experimenting with different environments and times of day helps you discover the most stunning effects and compositions.
Review and Learn from Past Projects
Always go back to assess your previous timelapse projects. Identify what worked well and what could be improved in future shoots.
Stay Updated with Technology
With constant advancements in photography technology, ensure you stay updated on the latest gear, software, and techniques to keep your work fresh and exciting.
Conclusion: Bringing Your Timelapse Ideas to Life
Creating a timelapse is a rewarding journey that combines creativity, patience, and technical skill. By learning how to make a timelapse with photos, you not only discover a new dimension of photography, but you also create compelling stories that can resonate with your audience.
As you delve into timelapse photography, let your imagination run wild. Each project is a step closer to enhancing your skills and showcasing the beauty of the world through your unique lens. Start capturing today, and open the door to endless storytelling possibilities!